Before I go any further, I ought to mention that any credit for this post should go to Bing Maps MVP Nicolas Boonaert, who first pointed out this technique in this post on the MSDN Bing Maps forum. Thanks Nicolas!
Generally speaking, when you place custom tile layers on a Bing Map, they are superimposed on top of a base tile layer. Historically, that tile layer could either use the road map style, or the aerial style (with or without label), as shown below:
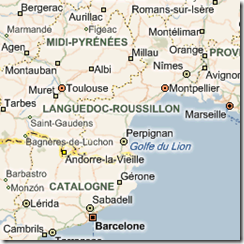 Road Map Style (“r”) |
|
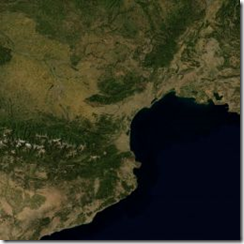 Aerial Map Style no labels (“a”) |
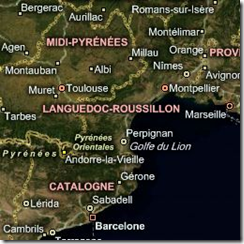 Aerial Map Style with labels (“h”) |
Then last year, a new “Lavender” road map style was introduced in two flavours – one with labels and one without:
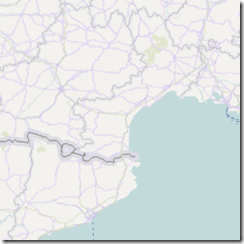 New road map style no labels (“r”, “stl=h”, “lbl=l0”) |
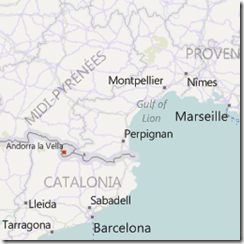 New road map style with labels (“r”, “stl=h”) |
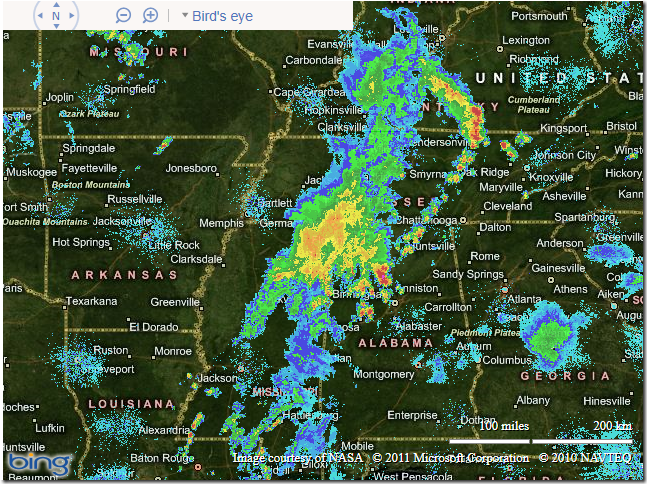
However, as Nicolas pointed out, it seems that we also now have the ability to request transparent tiles that contain only the labels, separate from any other features of the map. These labels are available in styles to match both the “old” and “new” road map styles, as follows:
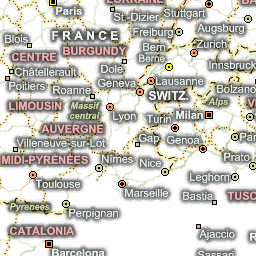 “Old” Label only style (“ho”) |
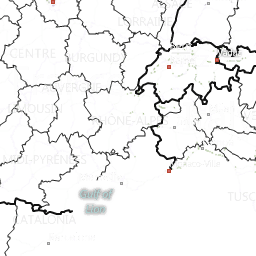 “New” Label only style (“ho”, stl=”h”) |
// Define the tile layer source
var labelTileSource = new Microsoft.Maps.TileSource({ uriConstructor: 'http://ecn.t2.tiles.virtualearth.net/tiles/ho{quadkey}?g=671&mkt=en-US' });

// Construct the layer using the tile source
var labelTilelayer = new Microsoft.Maps.TileLayer({ mercator: labelTileSource, opacity: 1.0 });

// Push the tile layer to the map
map.entities.push(labelTilelayer);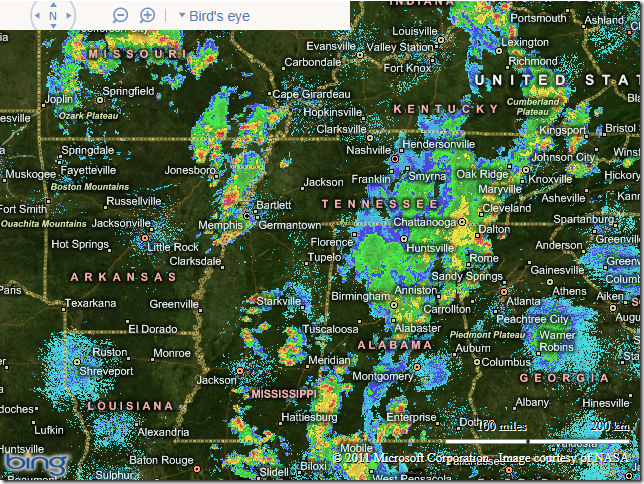
No comments:
Post a Comment